In this blog, we take you through the incredible journey of bringing a 1987 BMW M6 back to life after being abandoned for over 25 years. Join us as we detail the process, the challenges faced, and the heartwarming surprise for a father who once cherished this rare gem.
The Initial Discovery
It all began with a casual visit to a friend's house, where I stumbled upon a hidden gem—a Mustang Cobra tucked away in the backyard. After a quick cleanup, we sent it off for engine work. But the real surprise came from the next-door neighbor, who approached me with a request that would lead to an extraordinary journey.
They asked if I could help revive their father's rare BMW M6, which had been sitting in their yard for over two decades. The father, a doctor, was frequently away on trips, and the family wanted to surprise him upon his return. The goal was to inspire him to bring the M6 to a professional for a full restoration.
Meeting the Family
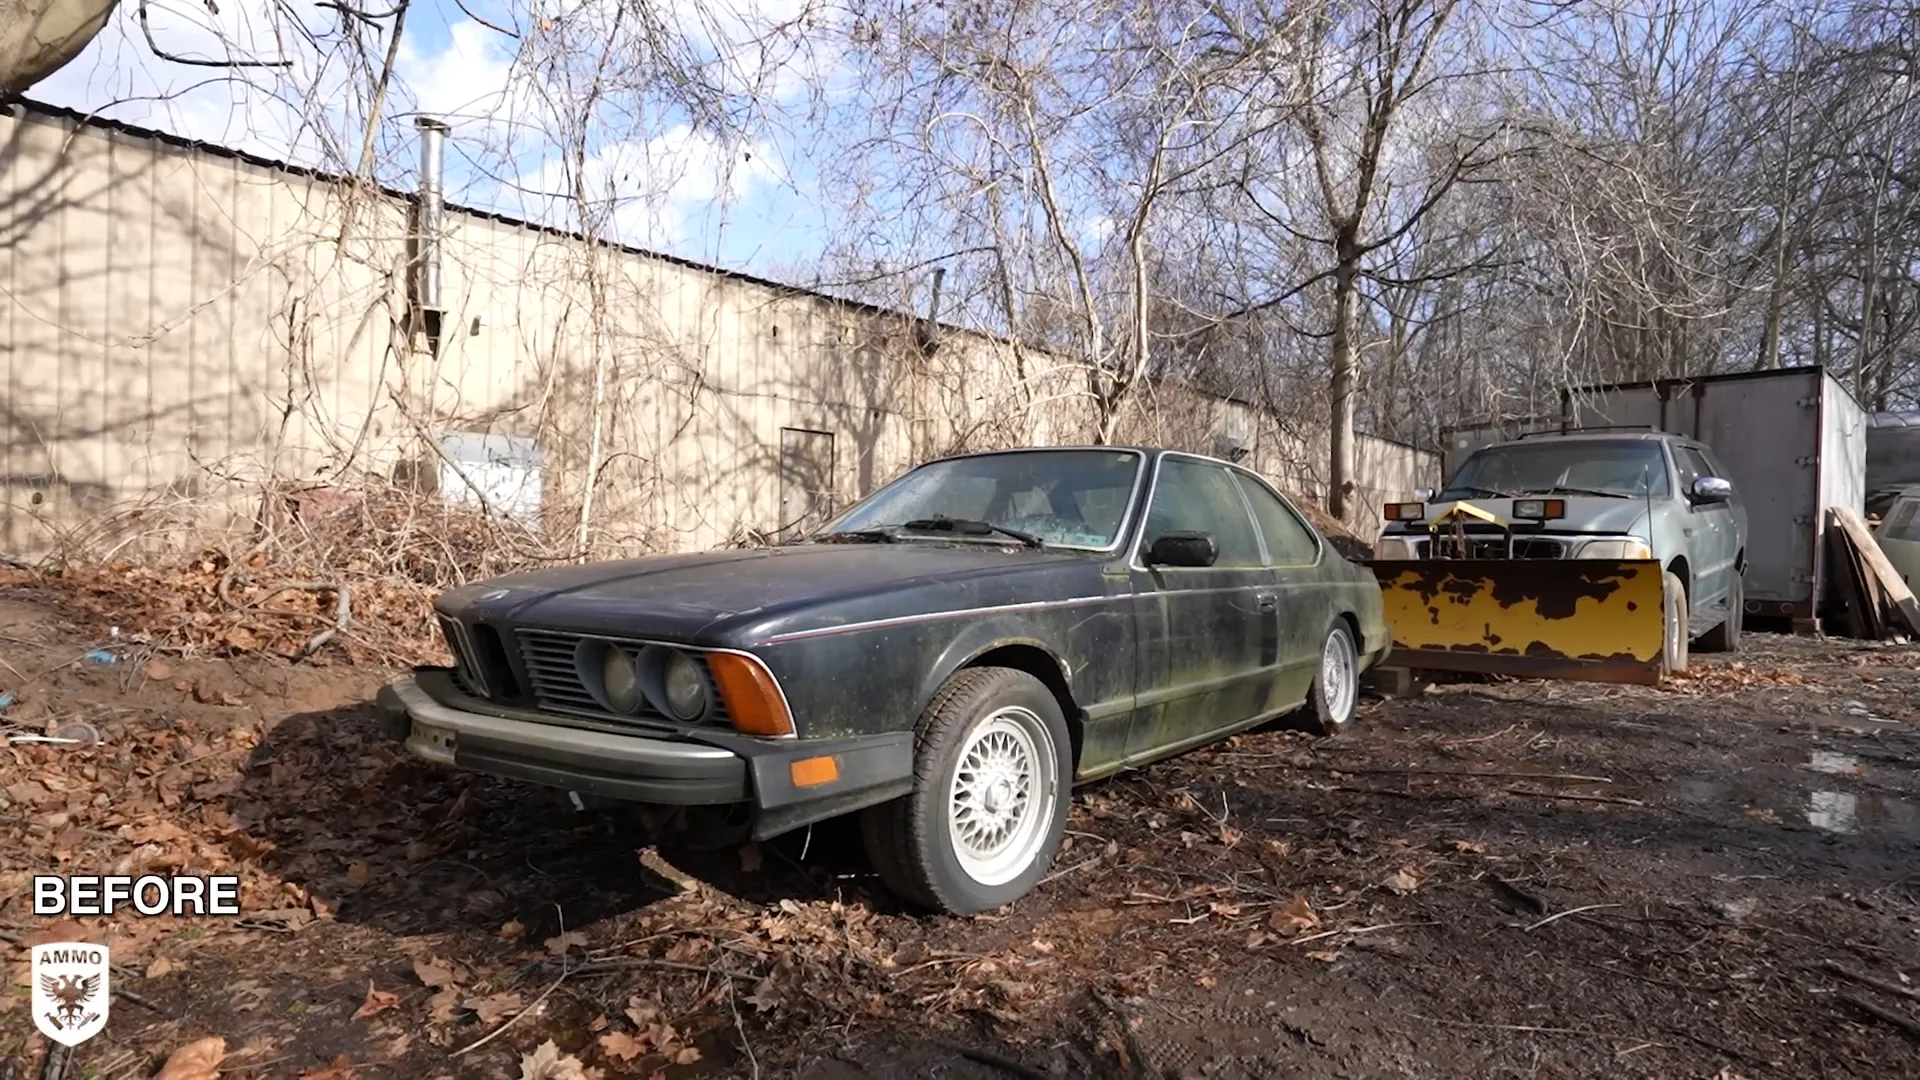
Upon arriving in Eastern Connecticut, I met three of the four sons: Brendan, Matt, and Frank. They led me to the M6, which had been left to languish for years. The sight was shocking; it was like stepping into a time capsule filled with memories.
As we approached the car, it became clear that a lot of love—and a good bit of elbow grease—would be needed to bring it back. Despite the layers of grime, it was evident that the car still held its charm.
The Condition of the M6
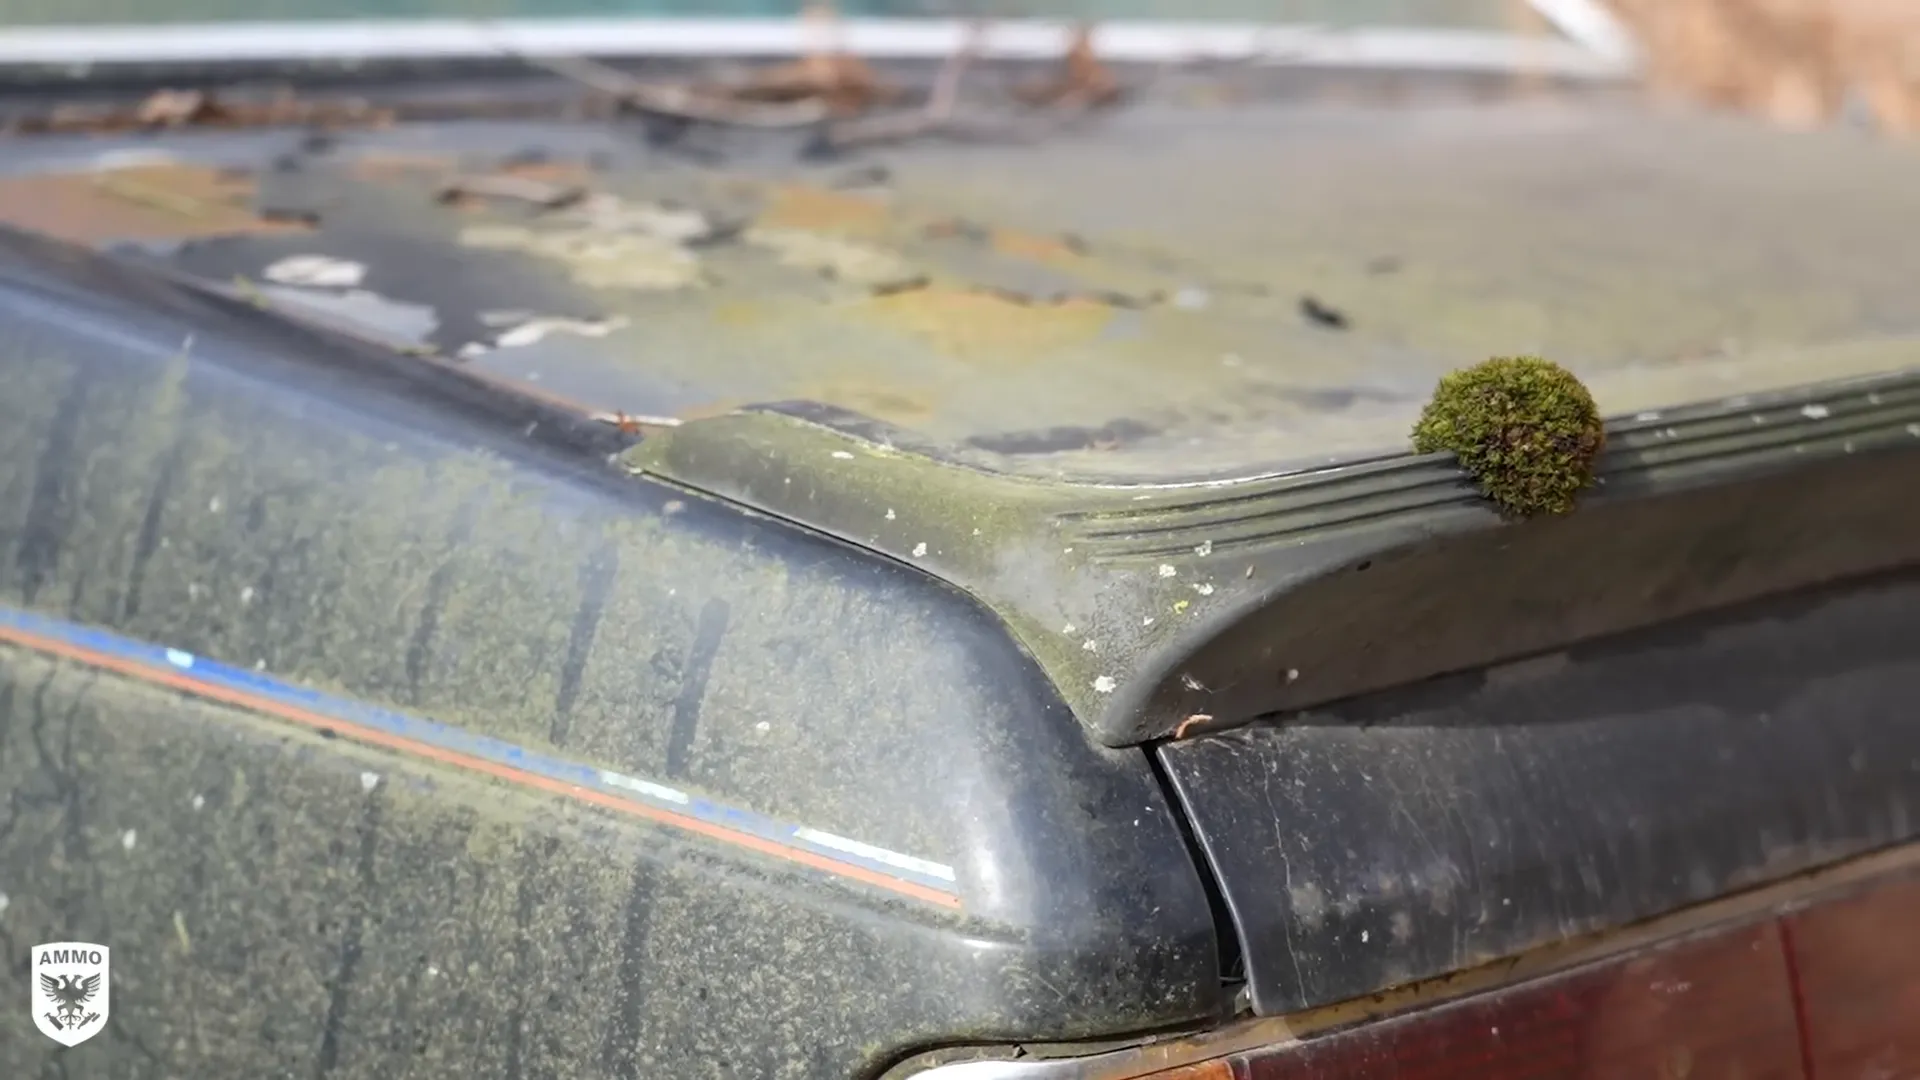
The M6 was a shadow of its former self, overgrown with plants and covered in dust. Missing a few parts, it still seemed mostly intact. The sons shared stories of their father's car history, recalling the special moments associated with it. This was not just a vehicle; it was a piece of their family history.
As I examined the car, I noticed the details that made it special: the elegant lines, the iconic BMW styling, and the memories tied to it. It was a classic waiting to be rediscovered.
A Brief History of the M6
This particular M6 was one of only 1,200 ever shipped to the U.S., a luxury vehicle that commanded a price tag of nearly $60,000 back in 1987—equivalent to about $166,700 today. It boasted a naturally aspirated 3.5L inline 6 engine, delivering 256 horsepower at 6,500 RPM, which was a significant leap over the standard 6 series of that era.
Not only did it share components with the legendary M1, but it also featured a 5-speed manual transmission and a steering wheel that many enthusiasts still regard as the best BMW ever made. This car was built for performance and luxury, and it deserved a second chance.
Transporting the M6
With the flatbed truck secured, we carefully loaded the M6, ensuring it was stable for the journey back to the studio. As we drove away, I felt a mix of excitement and responsibility. This car was more than just metal and machinery; it was a vessel of memories, and I was determined to help restore it to its former glory.
The First Steps in the Studio
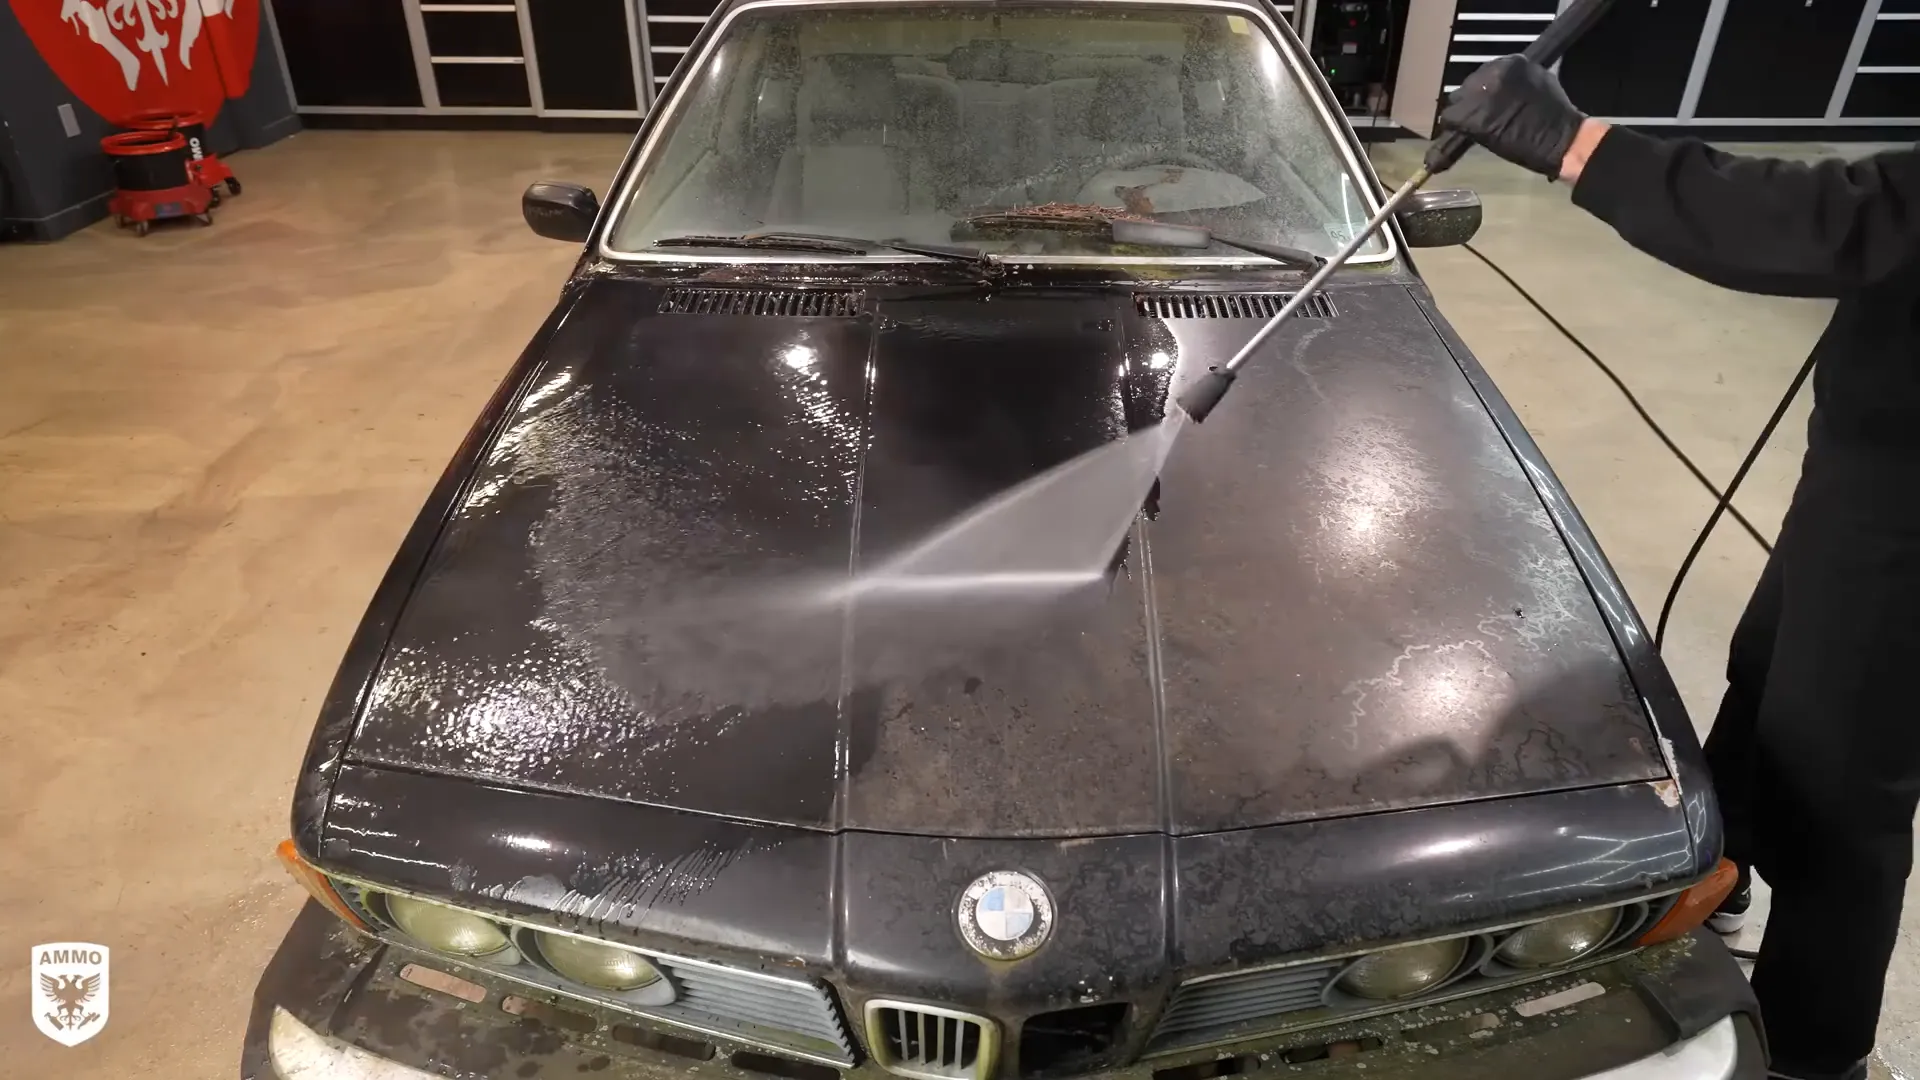
Once back in the studio, I gathered a team to help push this 3,600-pound beast inside. The first task was to blow off the algae and dirt that had accumulated over the years. As the grime fell away, the original paint began to reveal itself, hinting at the beauty hidden beneath.
Unclogging the Exhaust
One of the most surprising challenges was unclogging the exhaust. I never thought I'd need a screwdriver for this task, but the exhaust was filled with rocks and debris. After a thorough power wash, I began the process of clearing out the blockage, revealing just how much nature had taken over this classic.
Cleaning the Interior
As I delved into the interior, it became clear that this was a significant undertaking. The seats were broken, and mouse nests were everywhere. I began with a deep vacuuming, uncovering layers of dirt and debris that had accumulated over the years. Each step revealed more of the car's story, and I was determined to restore it piece by piece.

Finding Hidden Surprises
While emptying the trunk, I stumbled upon a medical scalpel and needles—evidence of the car's former owner being a doctor. It was a strange but fascinating find that underscored the car's history. Each discovery added to the narrative of this vehicle, making the restoration feel even more significant.

Assessing the Damage
After the initial cleanup, I assessed the condition of the carpets and interior. Surprisingly, the carpets were in decent shape, allowing me to be a bit more aggressive with my cleaning methods. I used specialized cleaning agents to tackle the grease and stains, aiming to preserve as much of the original material as possible.

Restoring the Exterior
With the interior progress underway, I turned my attention to the exterior. The paint had seen better days, but with the right tools and techniques, I was confident I could bring back its shine. I began polishing the body, carefully removing oxidation and dirt that had dulled its finish.

Final Touches
As the restoration progressed, I focused on the finer details. New rims arrived, and I was eager to replace the worn-out tires. I opted for high-quality all-season tires that would complement the M6's performance. This was an important step in ensuring that the car would be road-ready once again.
Preparing for the Big Reveal
With the M6 looking better than ever, it was time to prepare for the big reveal. The family was excited to see their father's reaction, and I was equally eager to witness the moment. After all the hard work, this car was ready to reclaim its place in the family's heart.
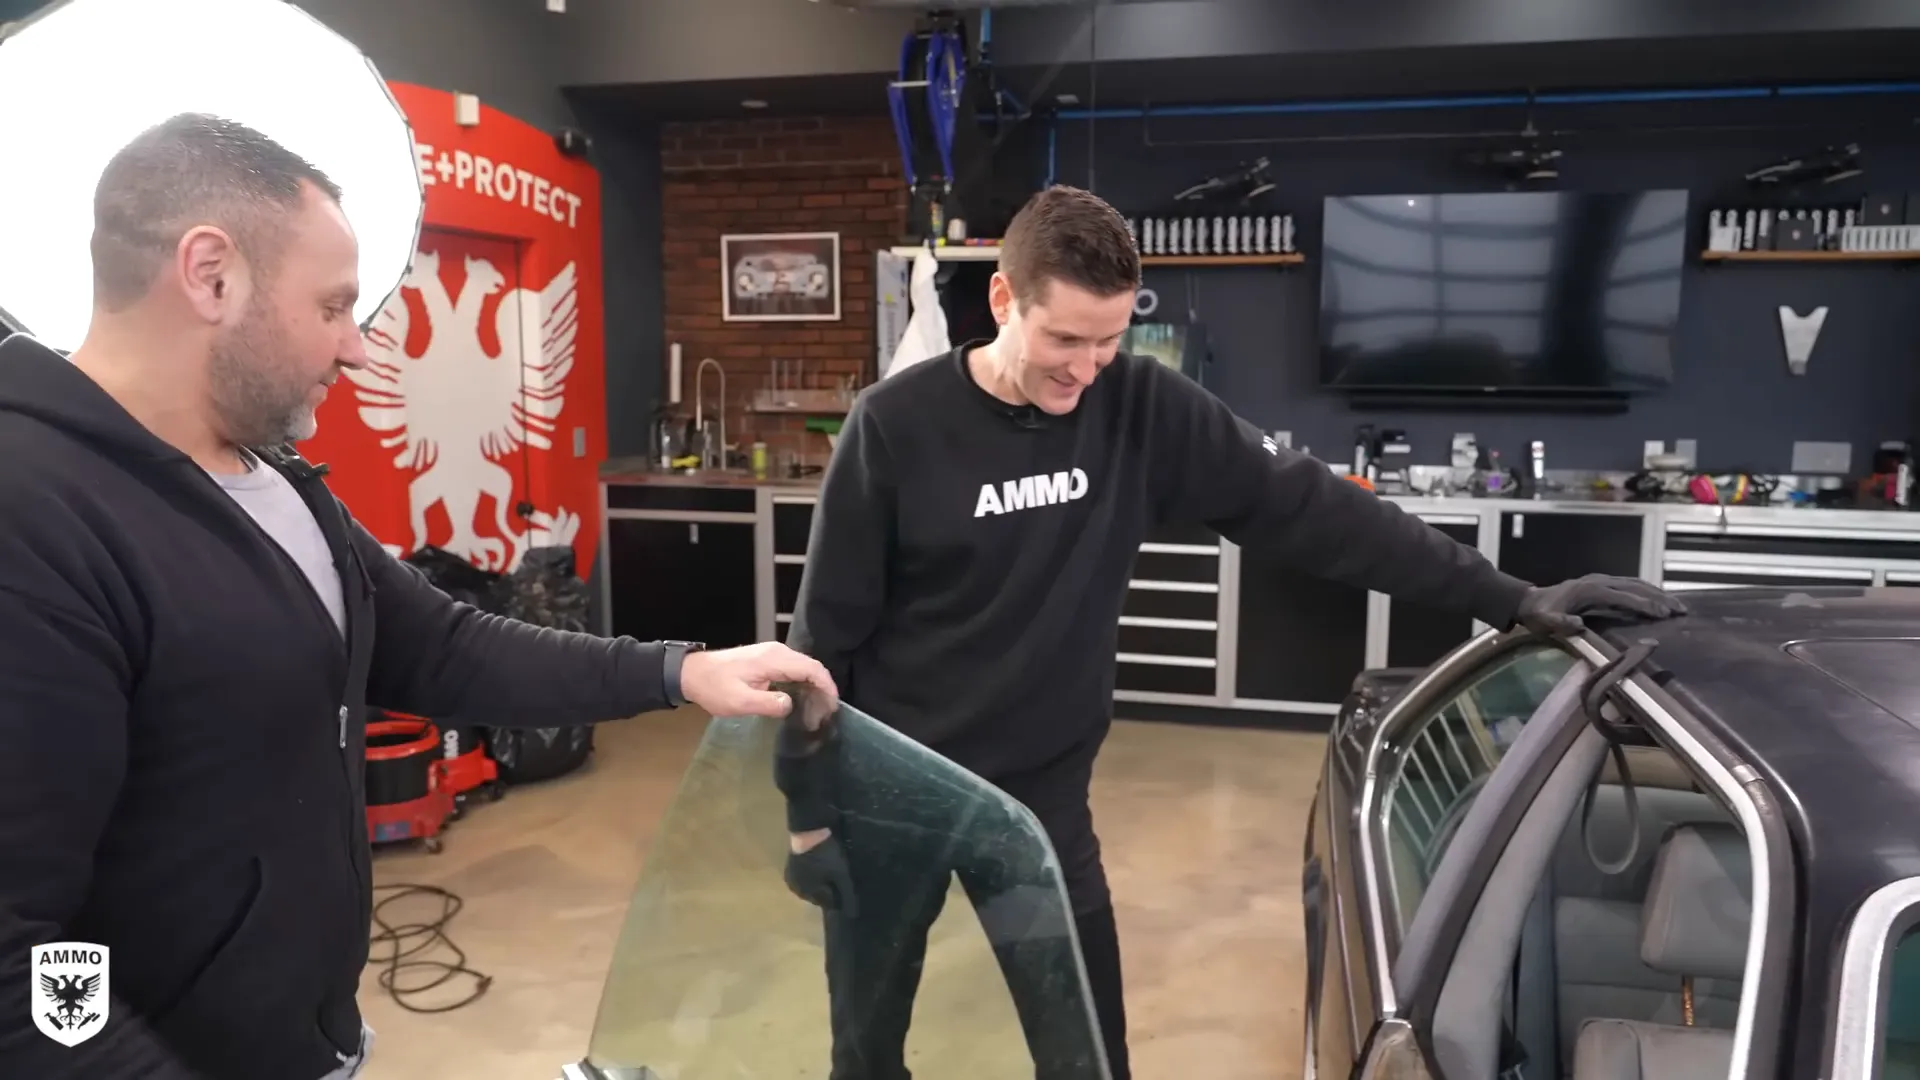
Removing the Interior
After assessing the M6, it was clear that removing the interior was the next step. Tom from Ace Tire joined me for this part of the project. The seats were in rough shape, already broken, and they had to come out to allow for proper cleaning underneath.
As we began the removal process, it was evident this was going to be a challenge. The years of neglect had left everything rusted down to the frame. It was going to take some serious effort to get these seats out.
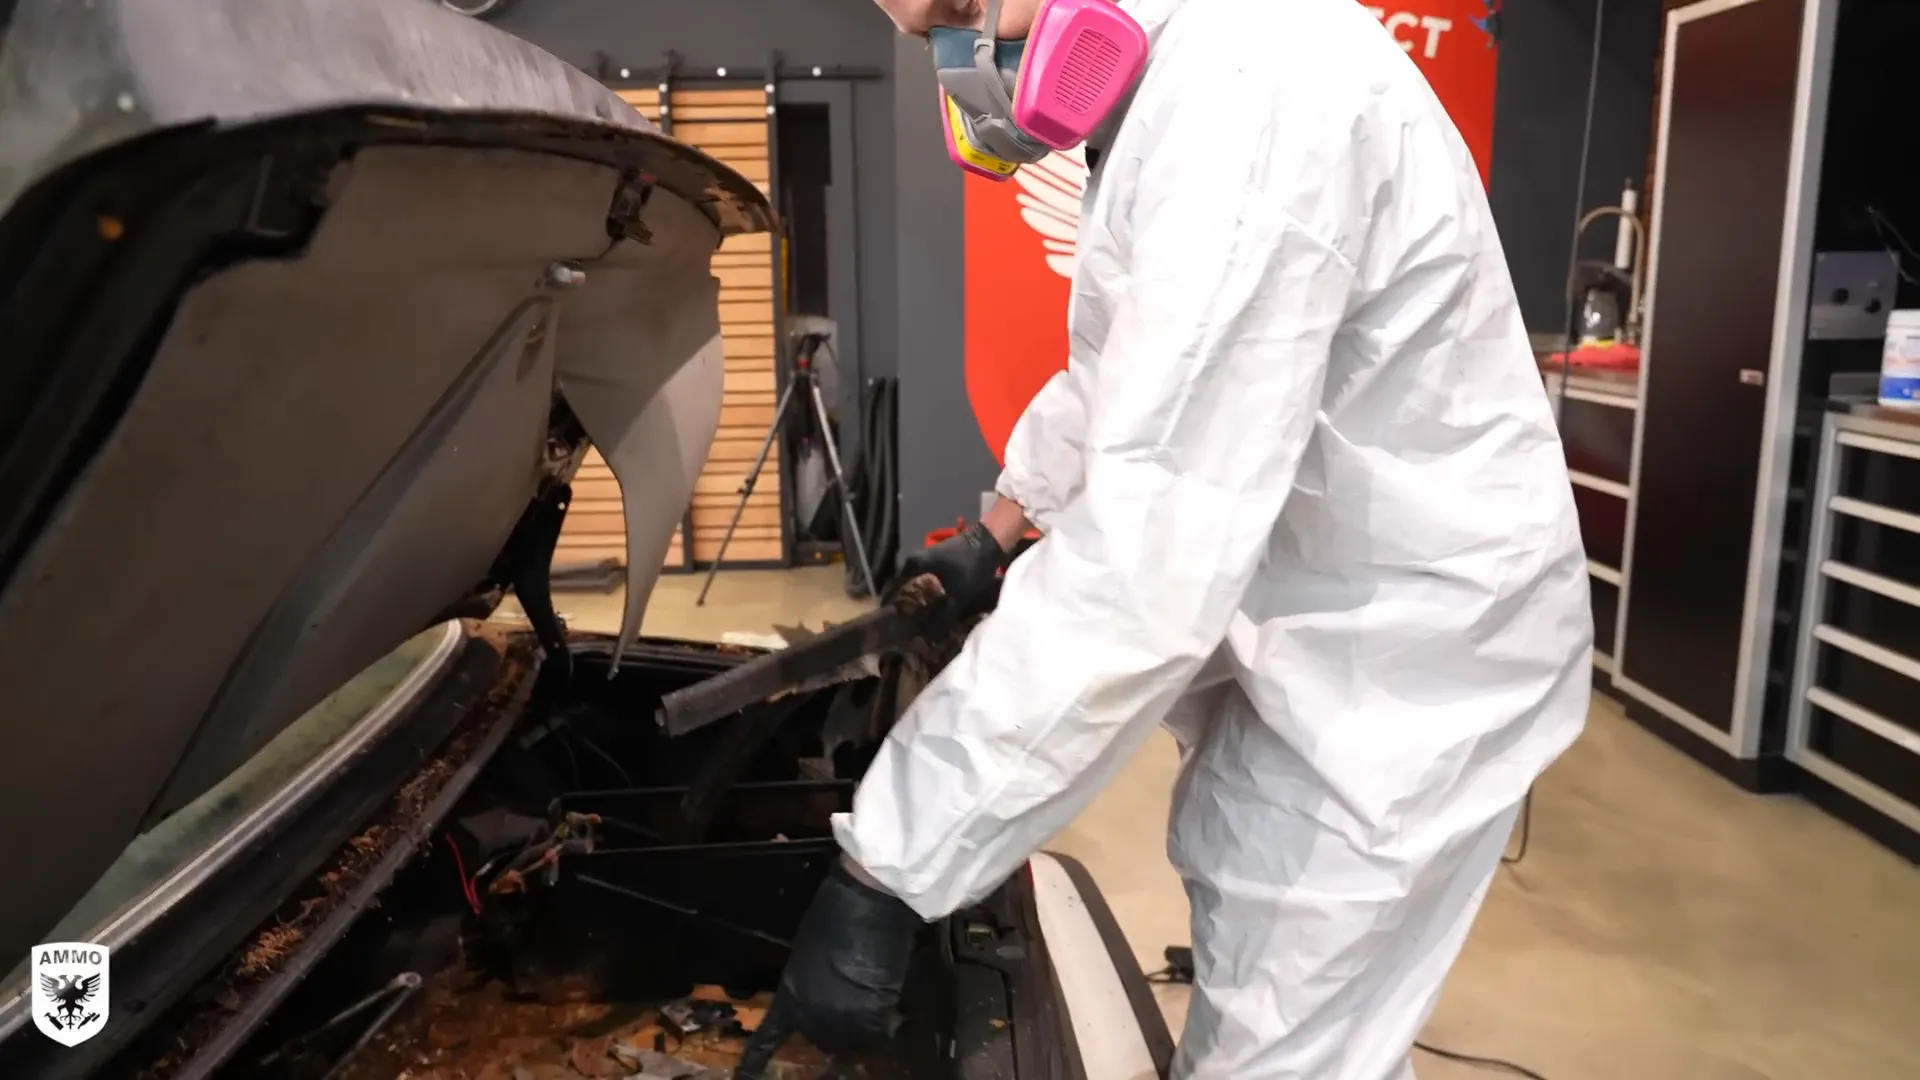
Unexpected Finds in the Trunk
While working on the interior, I decided to check the trunk. What I found was surprising—a medical scalpel and needles scattered among the debris. This discovery painted a vivid picture of the car's past owner being a doctor, and it added a layer of intrigue to the restoration process.
The trunk was a treasure trove of forgotten items, but it also highlighted how much work lay ahead. Cleaning out decades of mouse droppings and other remnants was no small feat.
The Cleaning Process Begins
With the interior stripped down, the real cleaning could begin. I started with a deep vacuuming to remove the layers of dirt and debris. Each pass revealed more about the car's story, and I was determined to restore it piece by piece.
As I vacuumed, I encountered mouse nests and remnants of their activities. It was a grim reminder of how long this vehicle had been left unattended.
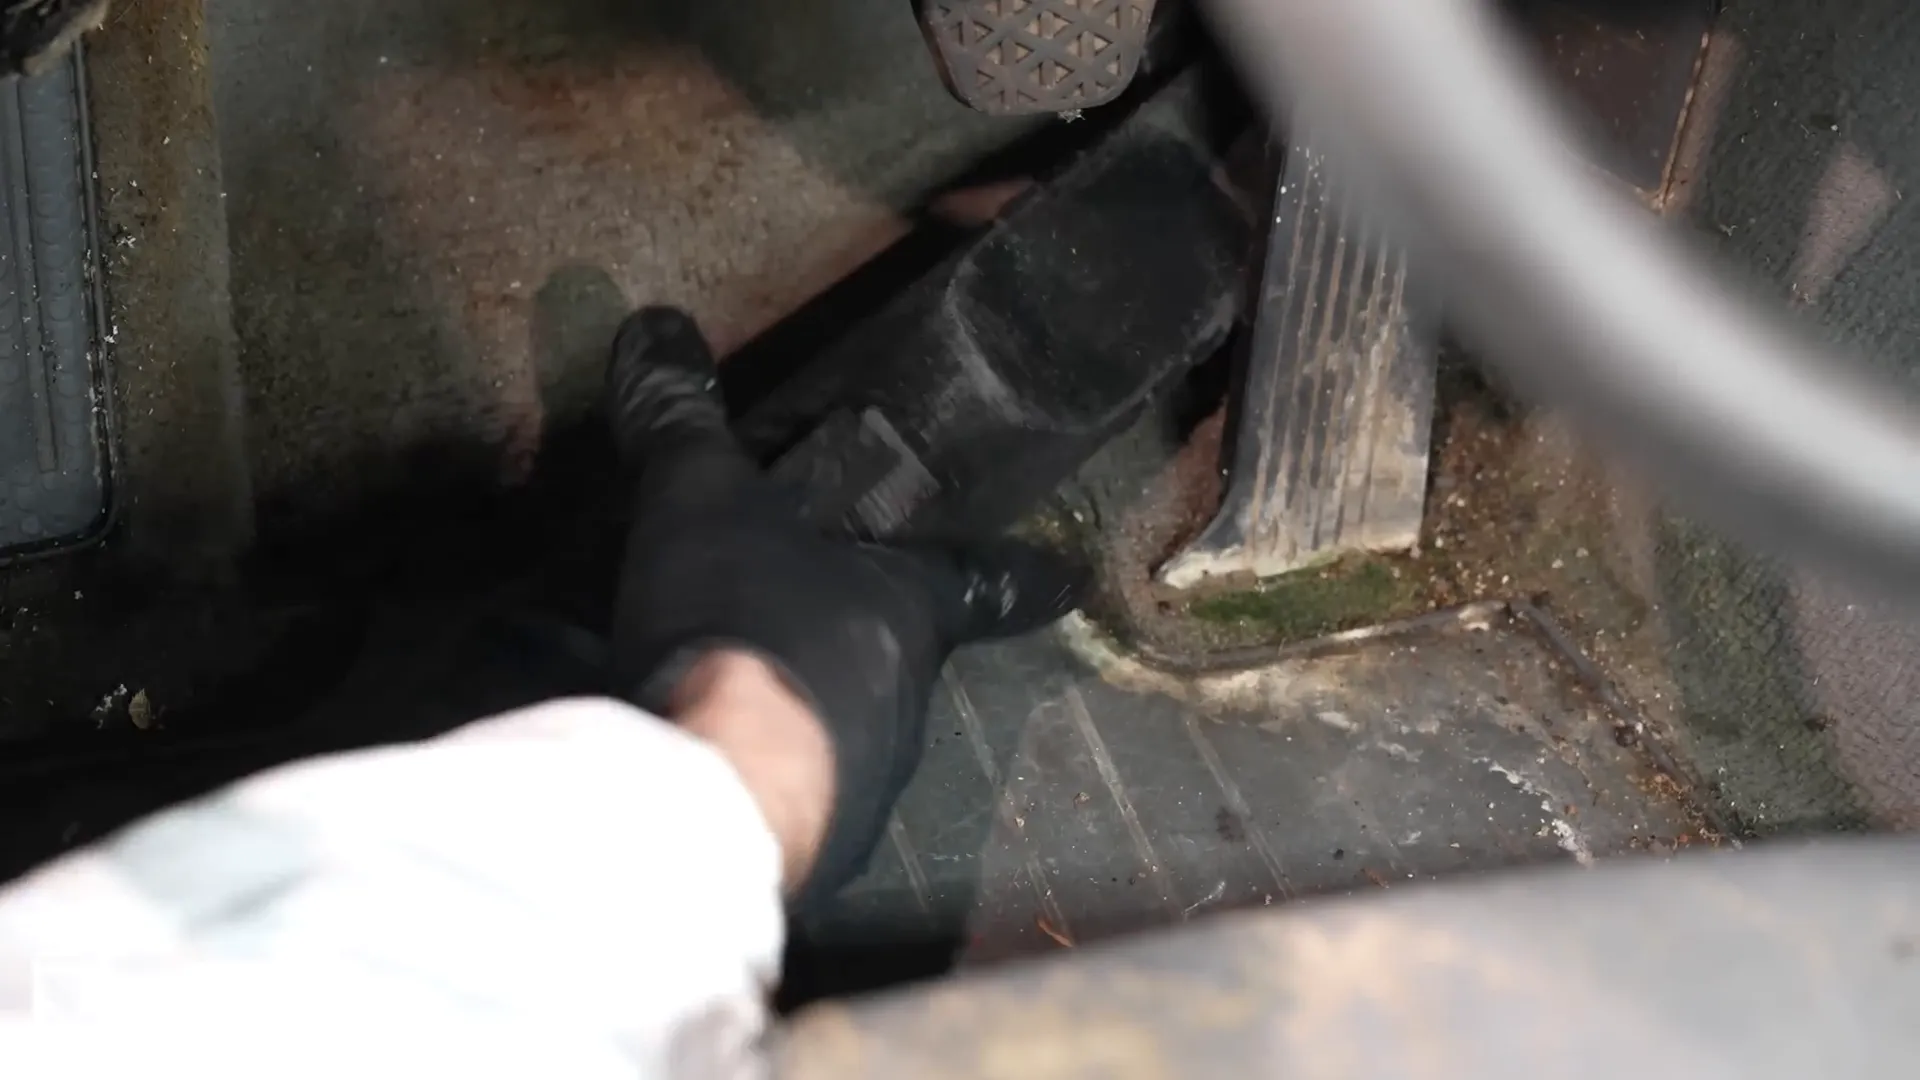
Vacuuming and More Discoveries
The vacuuming revealed not just dirt but some truly shocking finds. Underneath the seats, I discovered the size of the nests was massive, a testament to how long the M6 had been out of commission. It was a challenge to get everything out, but I knew it was necessary for a thorough restoration.
After round one of vacuuming, I was left with a significant amount of debris. It felt like I was peeling back layers of history with each scoop.
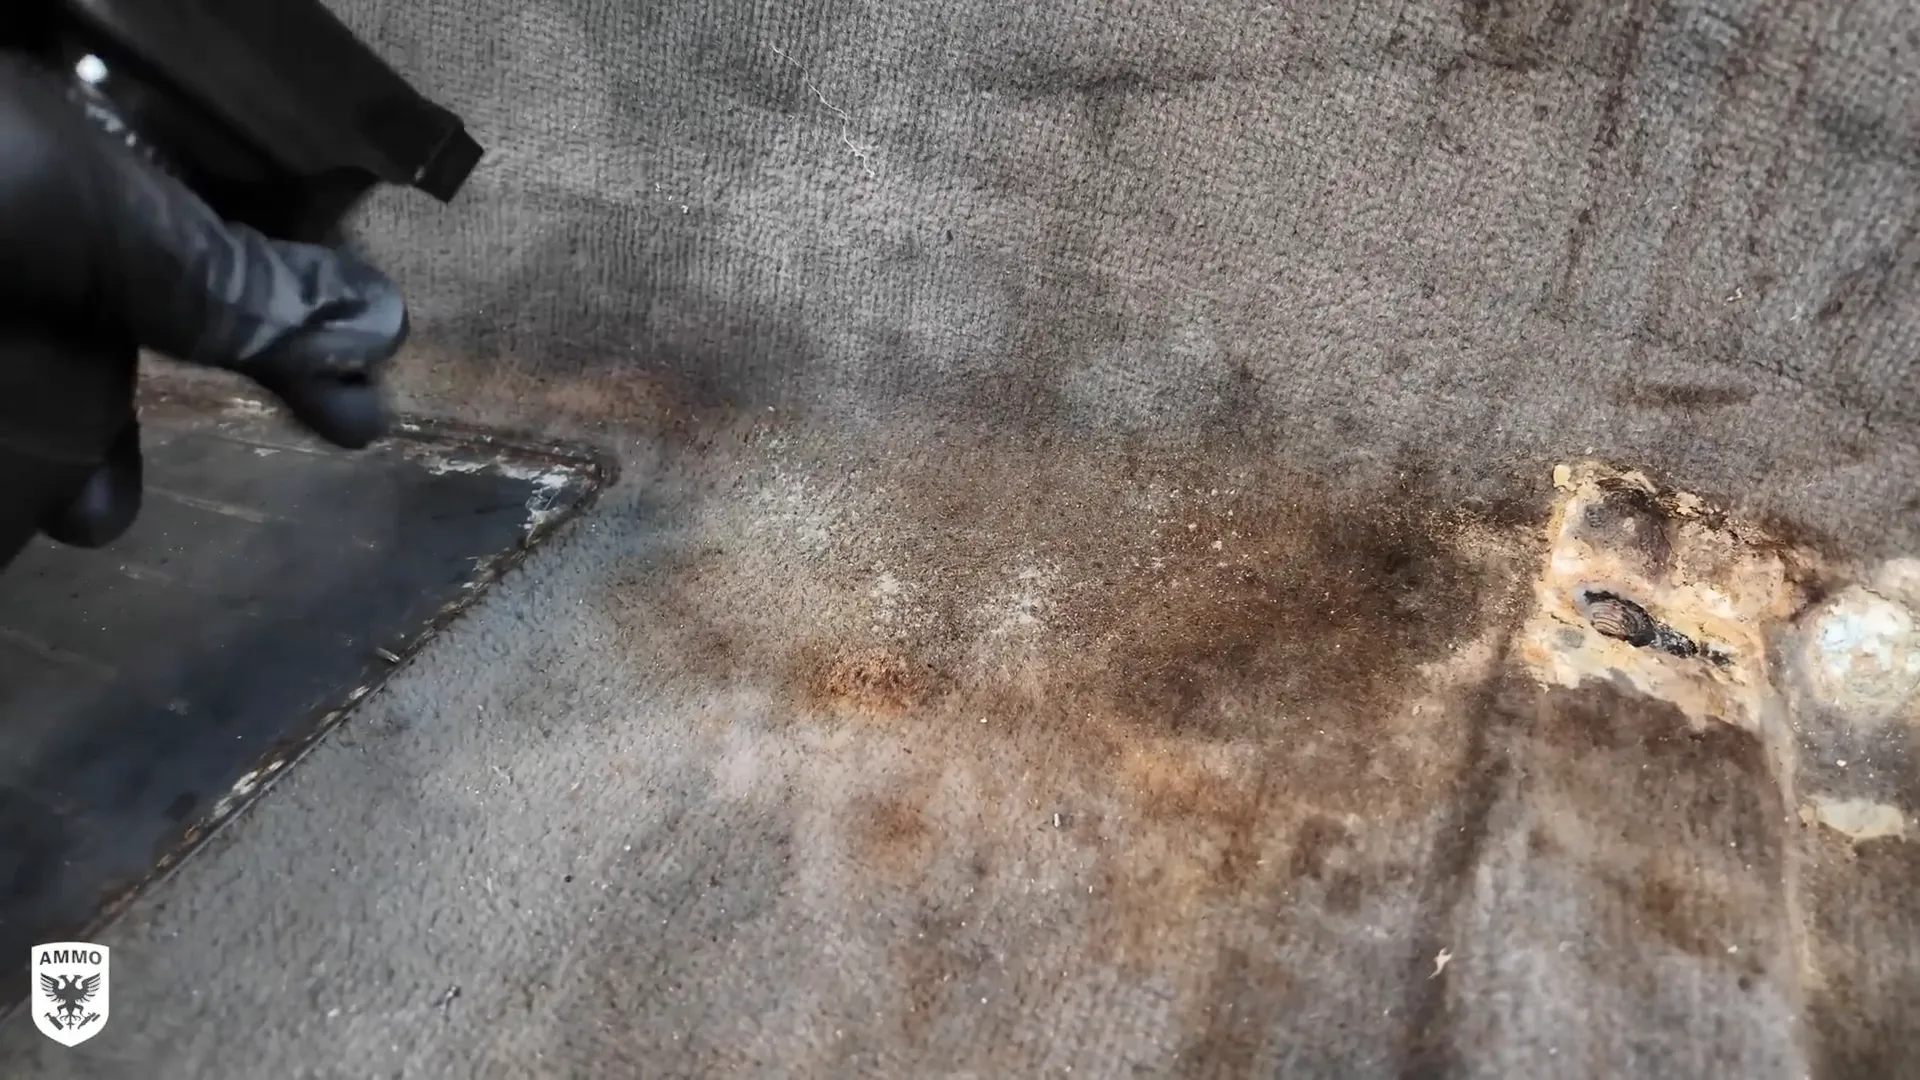
Assessing the Carpet Condition
Once the majority of the debris was cleared, I turned my attention to the carpet. Surprisingly, it was in decent shape. Unlike many vehicles that sit for years, this carpet wasn't disintegrating, which allowed me to be more aggressive with my cleaning techniques.
I opted for specialized cleaning agents to tackle the grease and stains, aiming to preserve as much of the original material as possible. The goal was to bring back the M6's original charm without losing its character.
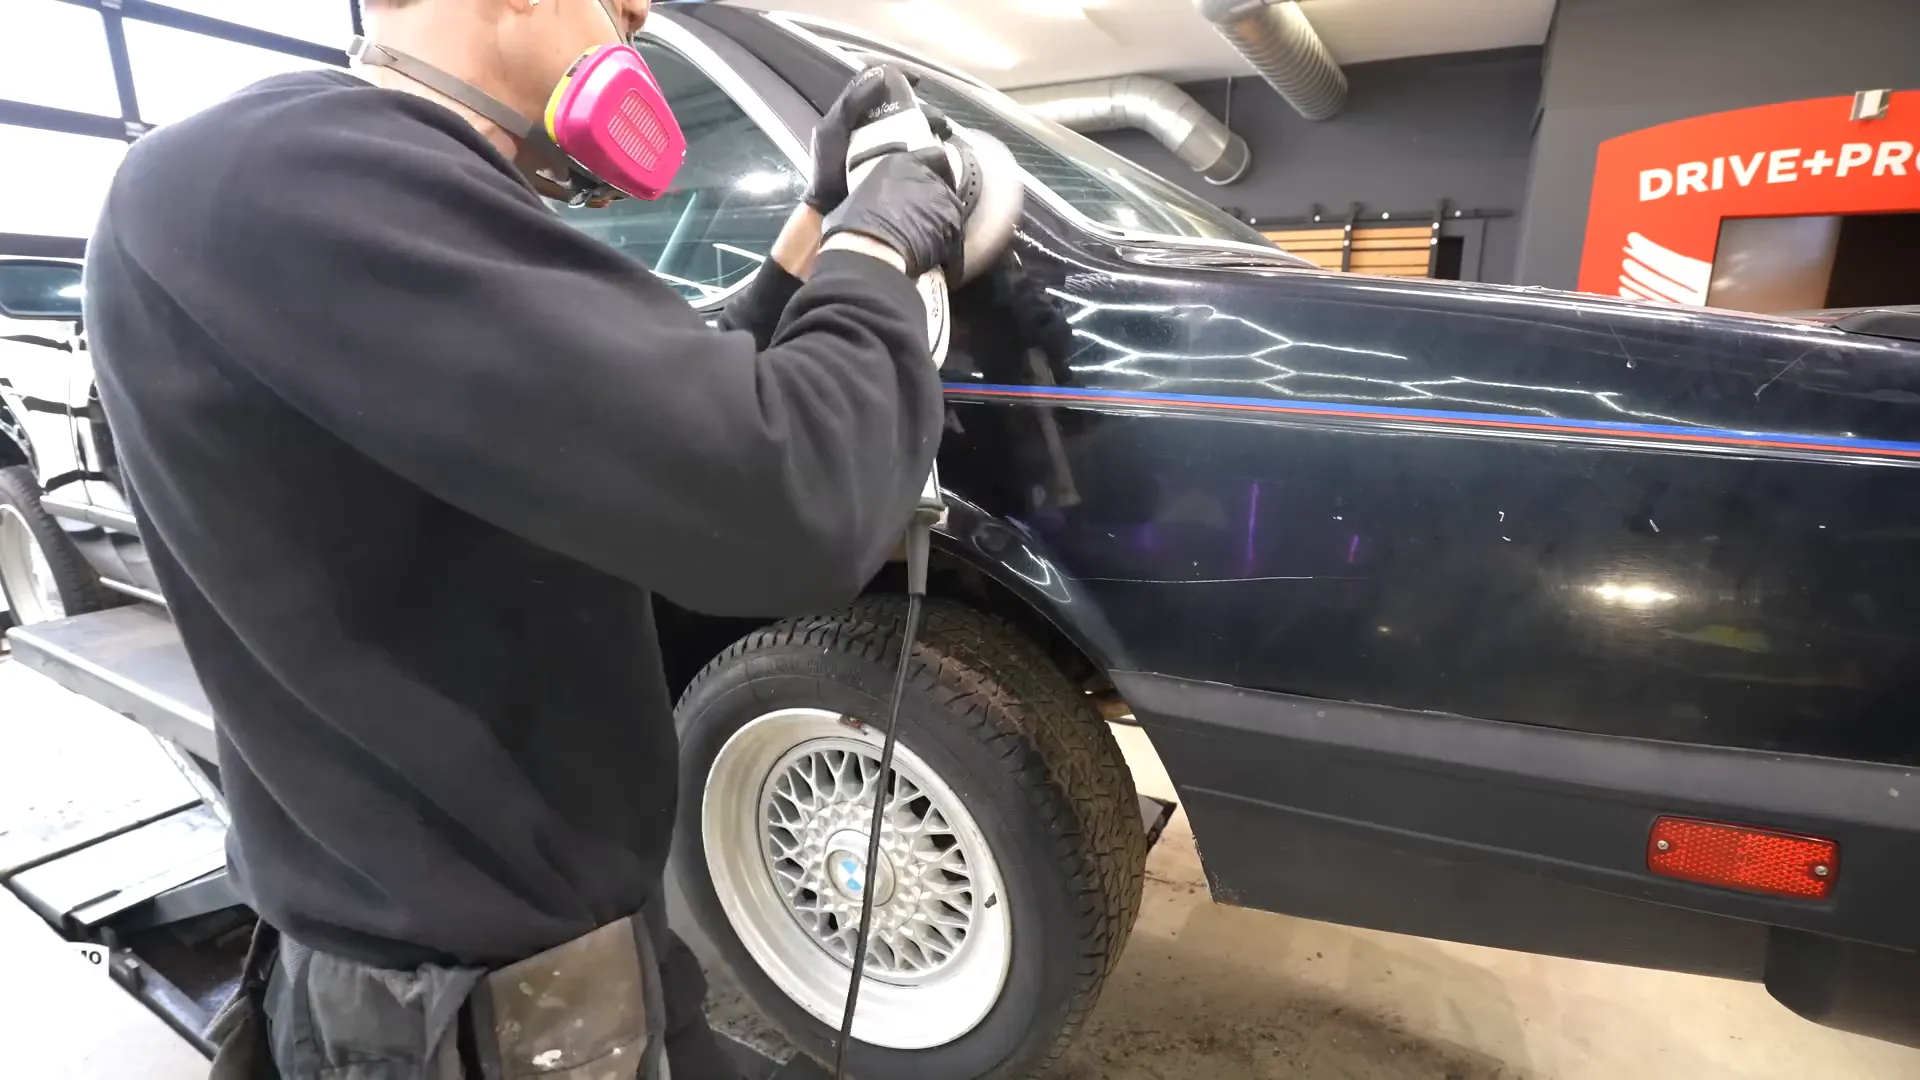
Polishing the Exterior
With the interior on its way to recovery, it was time to shift focus to the exterior. The paint had suffered greatly from years of neglect, but I was confident I could restore its shine. I began polishing the body, carefully removing layers of oxidation and grime.
The transformation was already evident as the original color began to show through. It was a labor-intensive process, but each stroke of the buffer felt rewarding.
Restoring the Interior
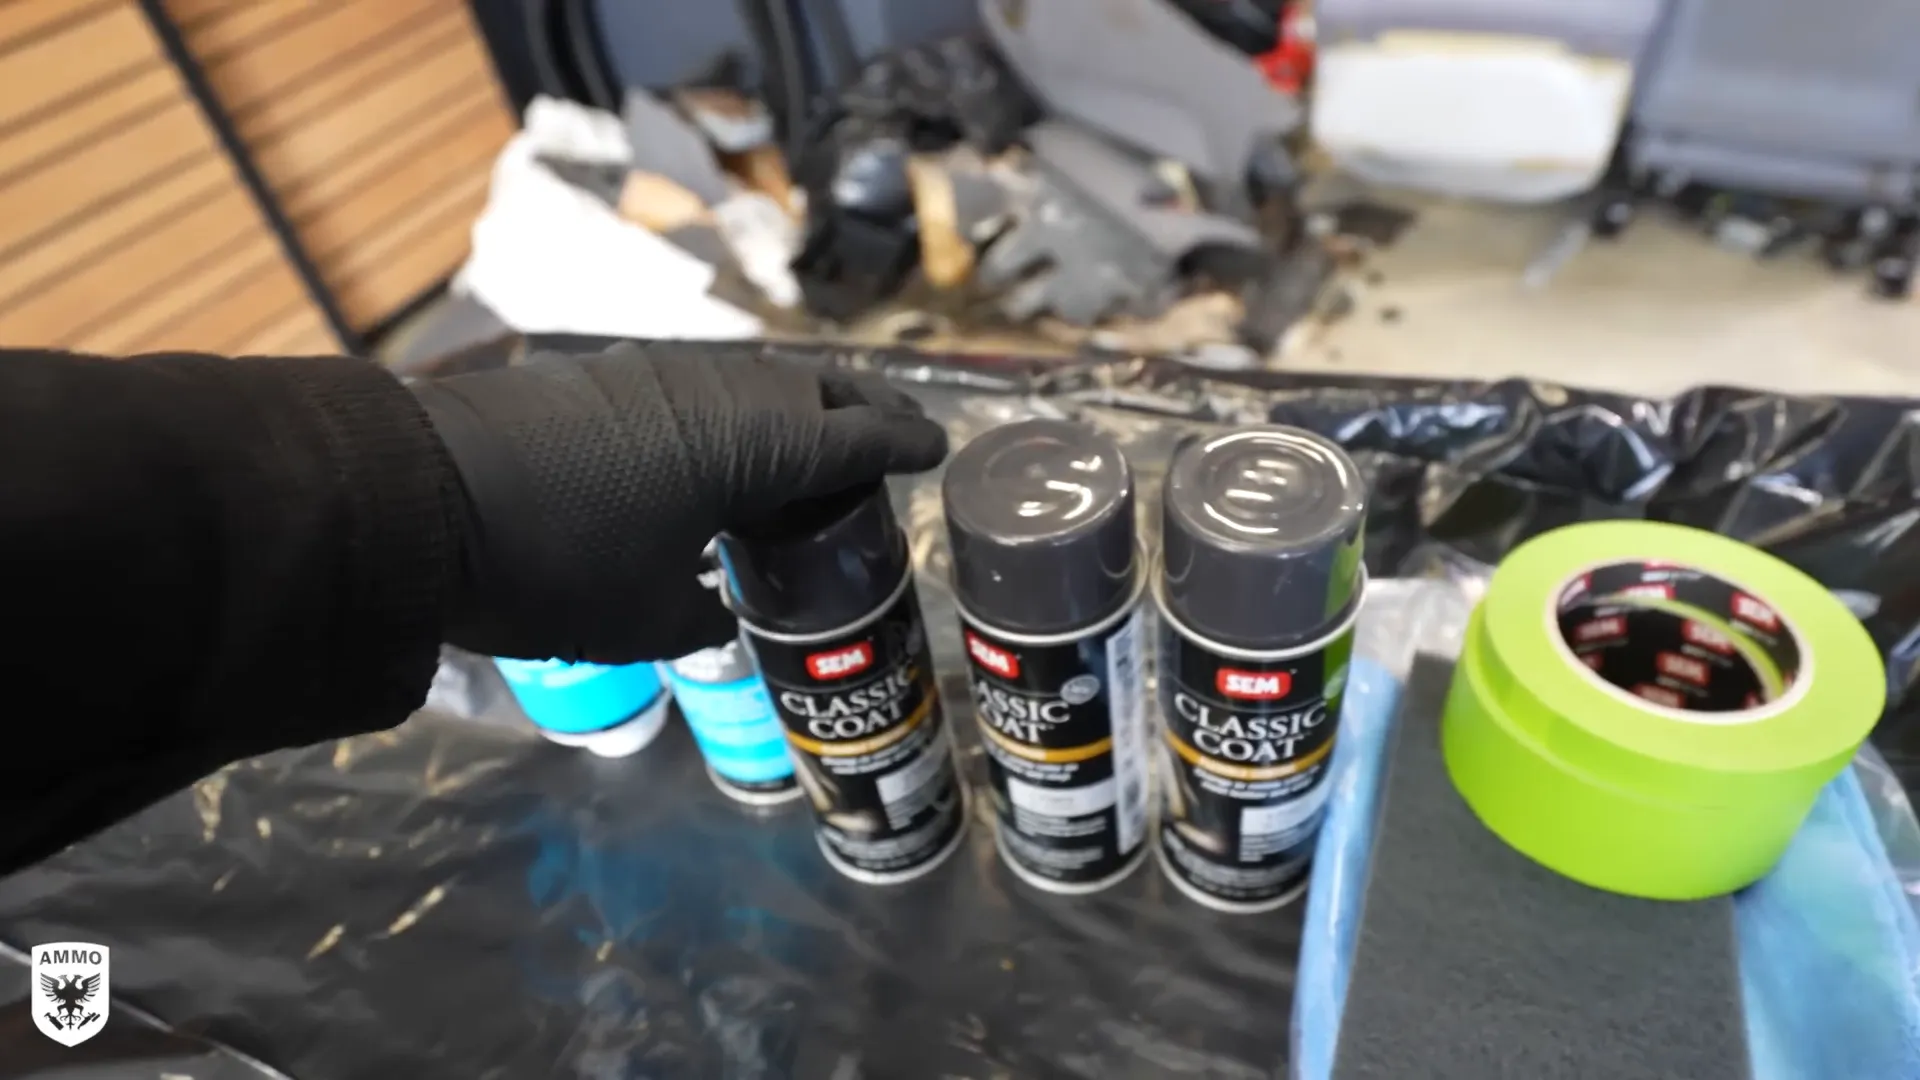
As the exterior shone, I returned to the interior to continue the restoration. I used a combination of scrubbing and specialized cleaning products to tackle the plastics and leather. The sun had taken a toll on these surfaces, but I was determined to bring them back to life.
Applying a flexible coating helped revive the faded areas, making them look closer to their original state. It was about more than just cleaning; it was about restoring the emotional connection tied to this car.
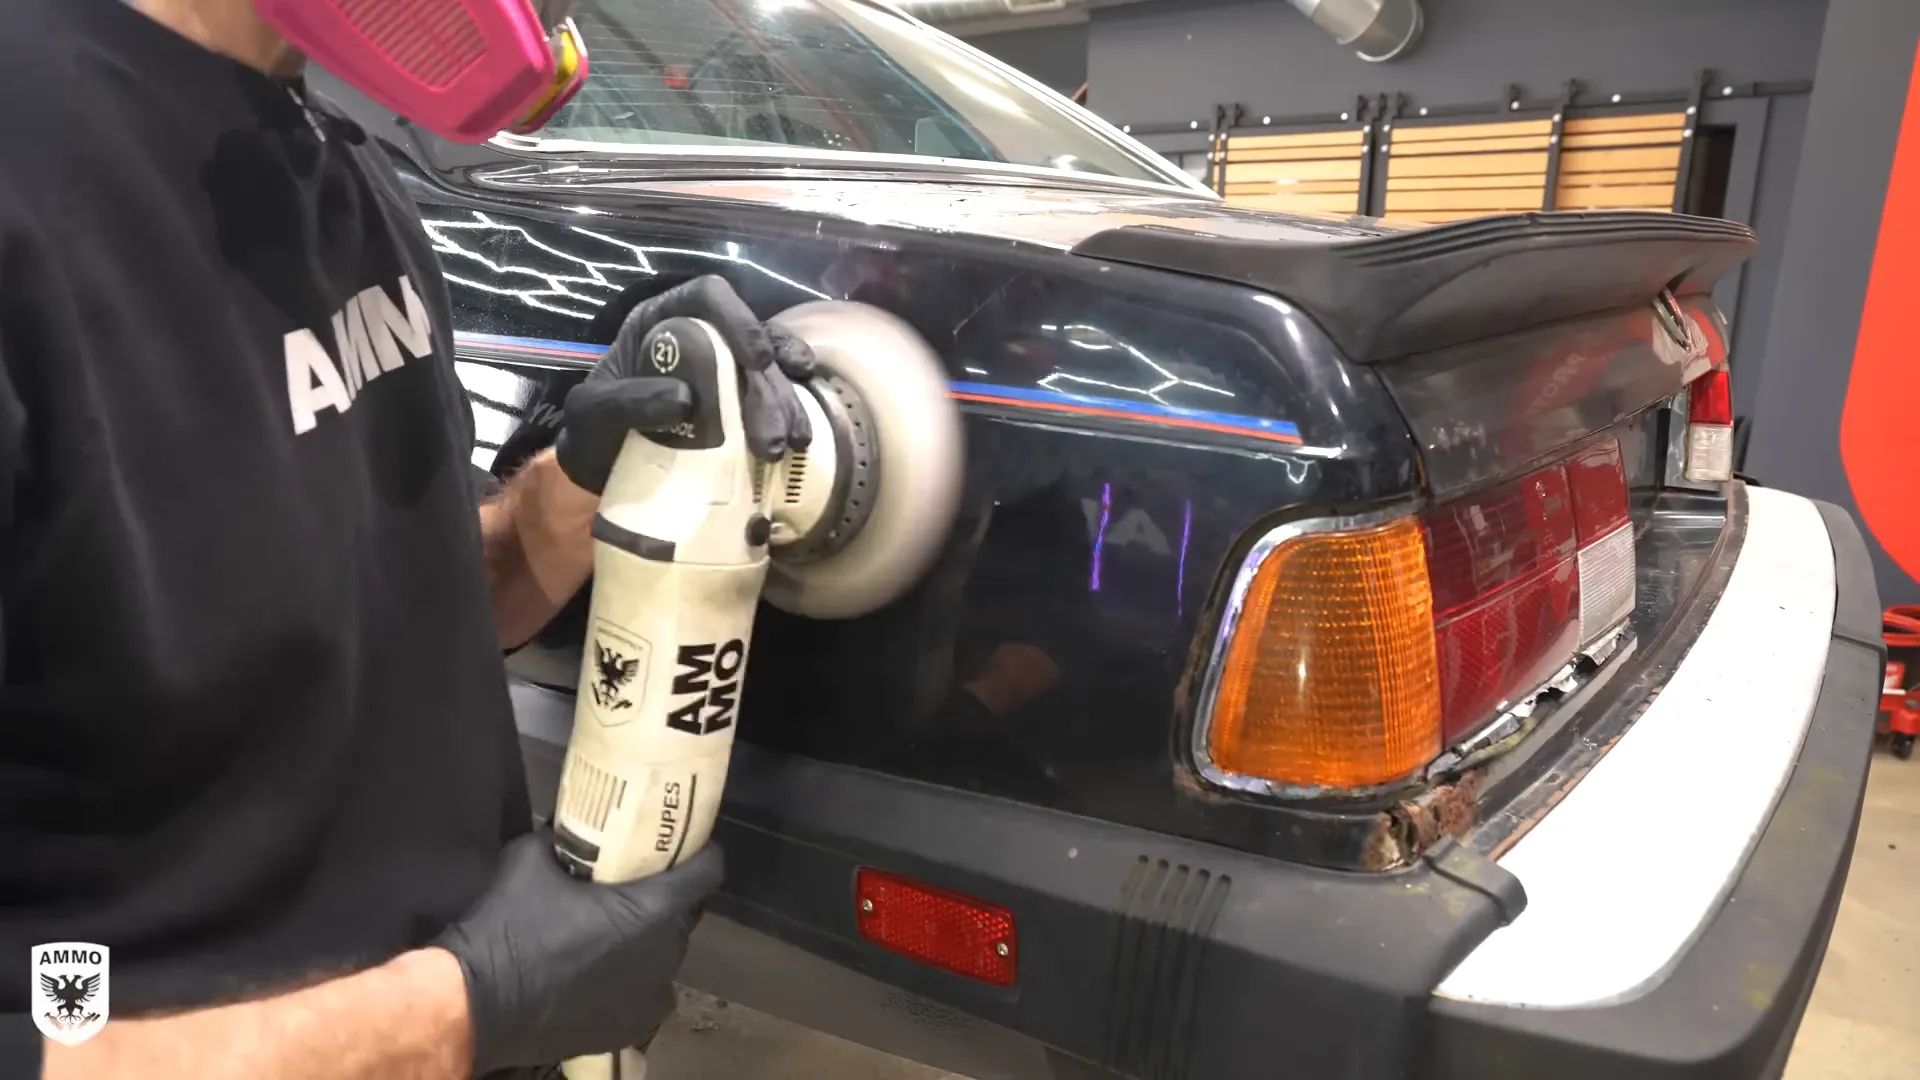
Final Touches on the Paint
With the exterior finally clean, it was time for the final touches on the paint. This stage is crucial, as the paint not only defines the car's aesthetic but also protects it from the elements. I started by applying a high-quality polish to enhance the depth and shine.
Using a dual-action polisher, I carefully worked the polish into the surface, ensuring even coverage. The transformation was remarkable; the original color began to glow, revealing the M6's classic beauty. It was satisfying to see years of neglect fade away with each pass of the polisher.
New Tires and Rims
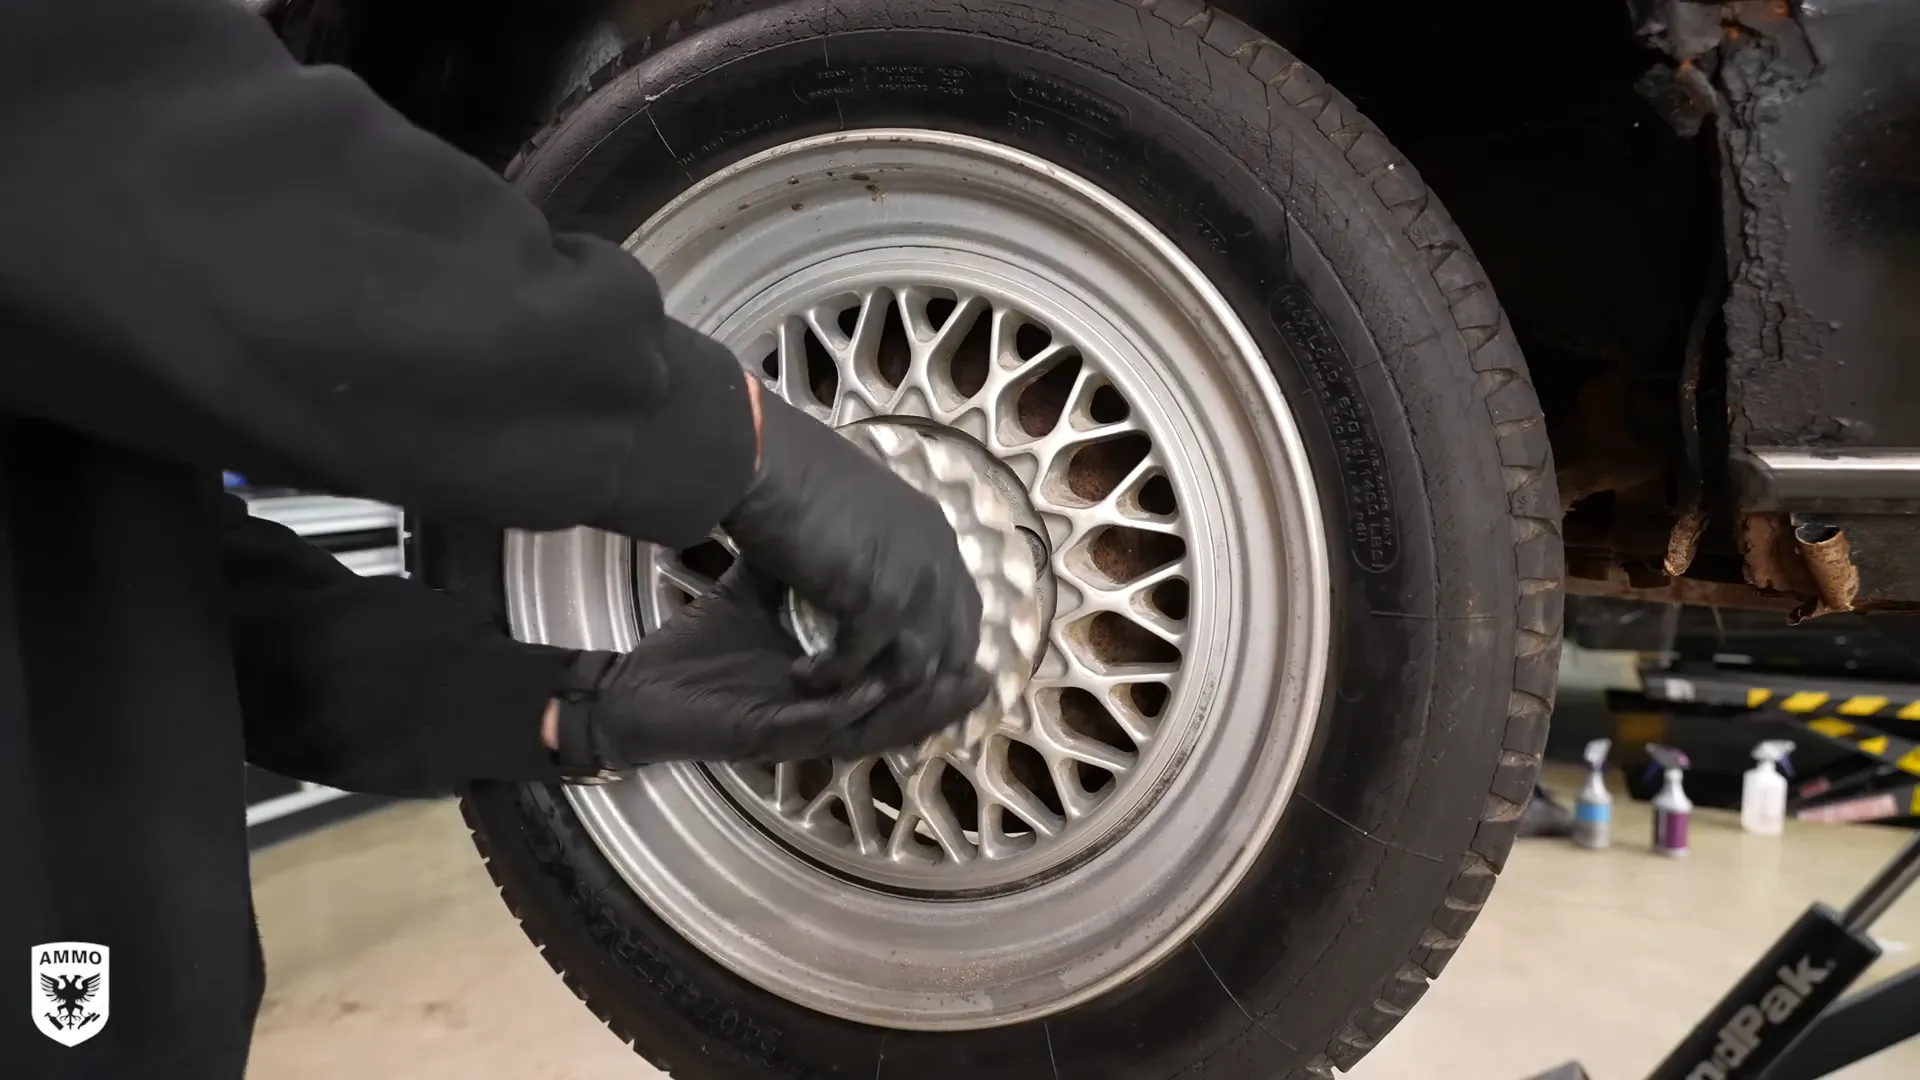
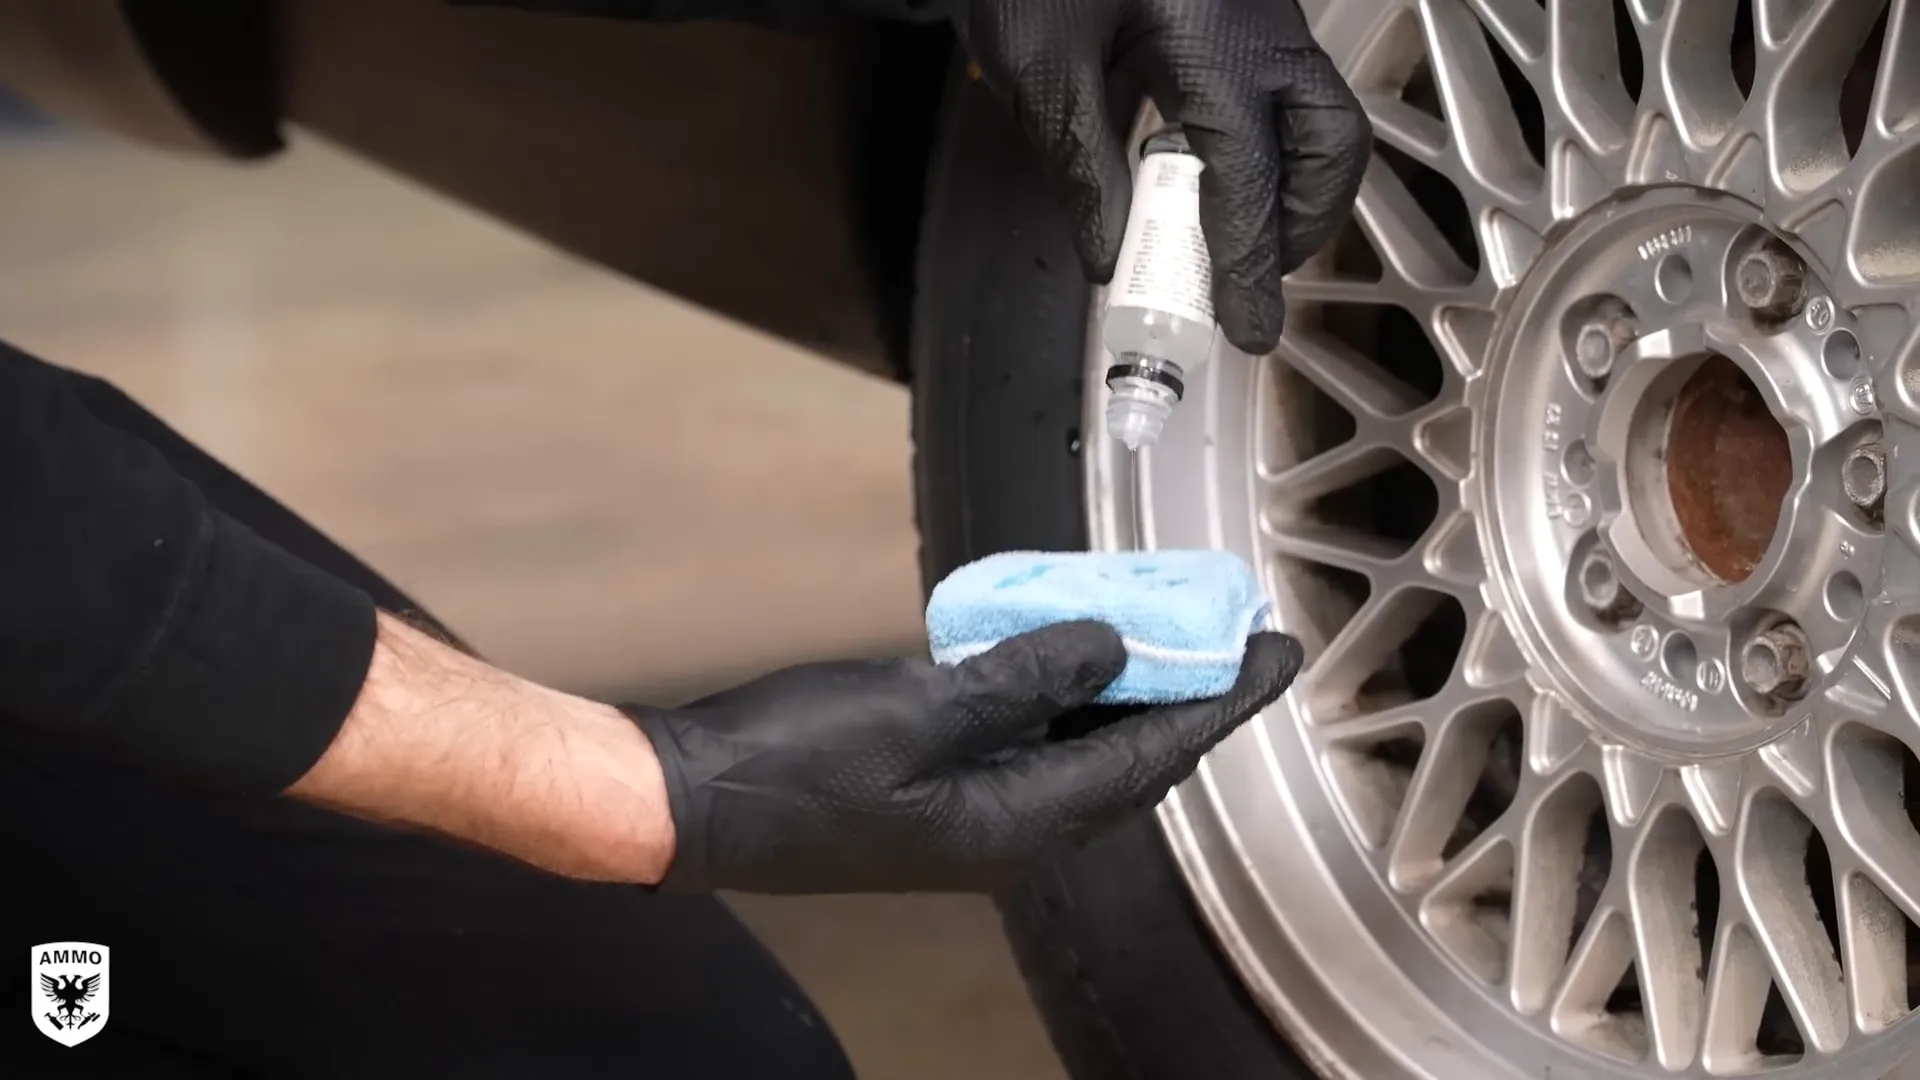
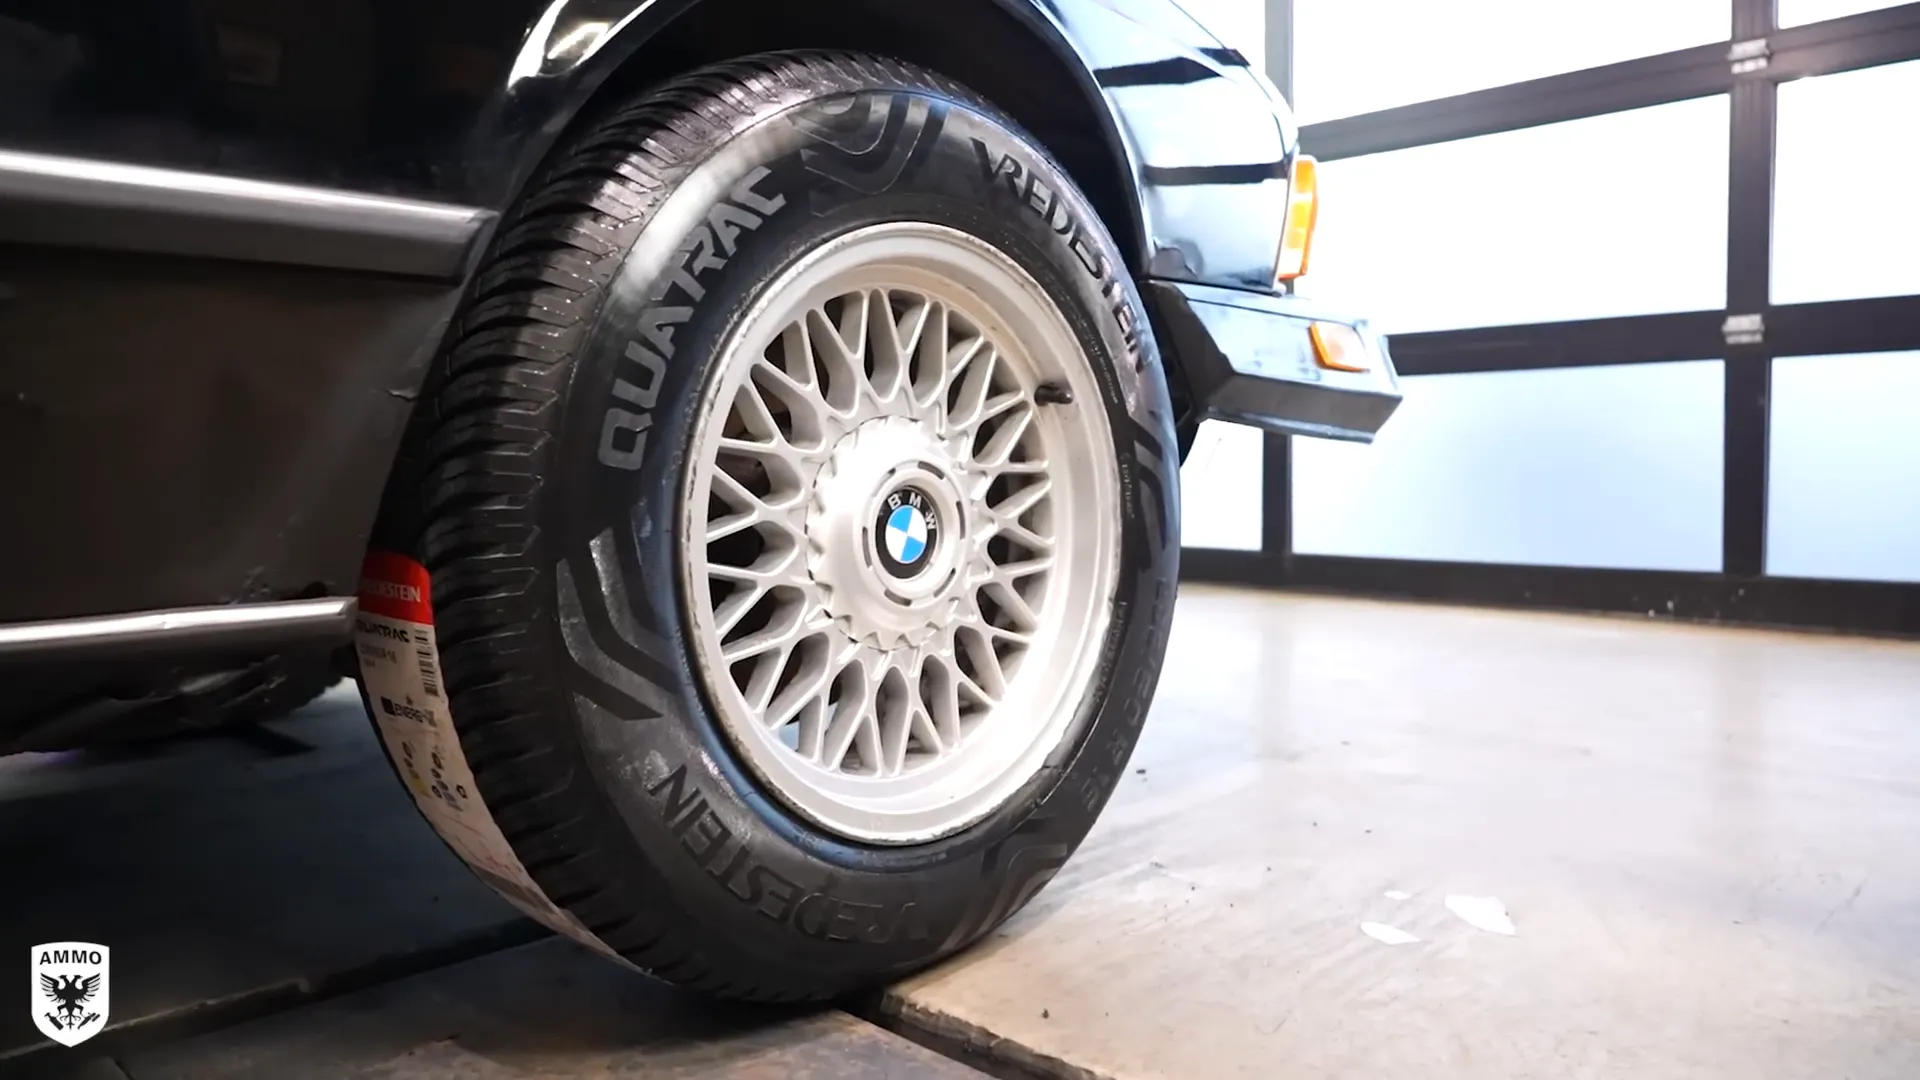
Next up were the tires and rims. The original tires were nothing but dried-out rubber, barely holding shape after years of exposure to the elements. I headed over to Ace Tire to select some new rubber that would not only look good but also perform well on the road.
I chose the Vredestein Quadrax, known for their superior all-season performance. These tires feature a unique tread pattern designed for excellent grip and water drainage, perfect for the M6’s sporty nature. After mounting the new tires on the freshly cleaned rims, I added a wheel coating for extra protection and shine.
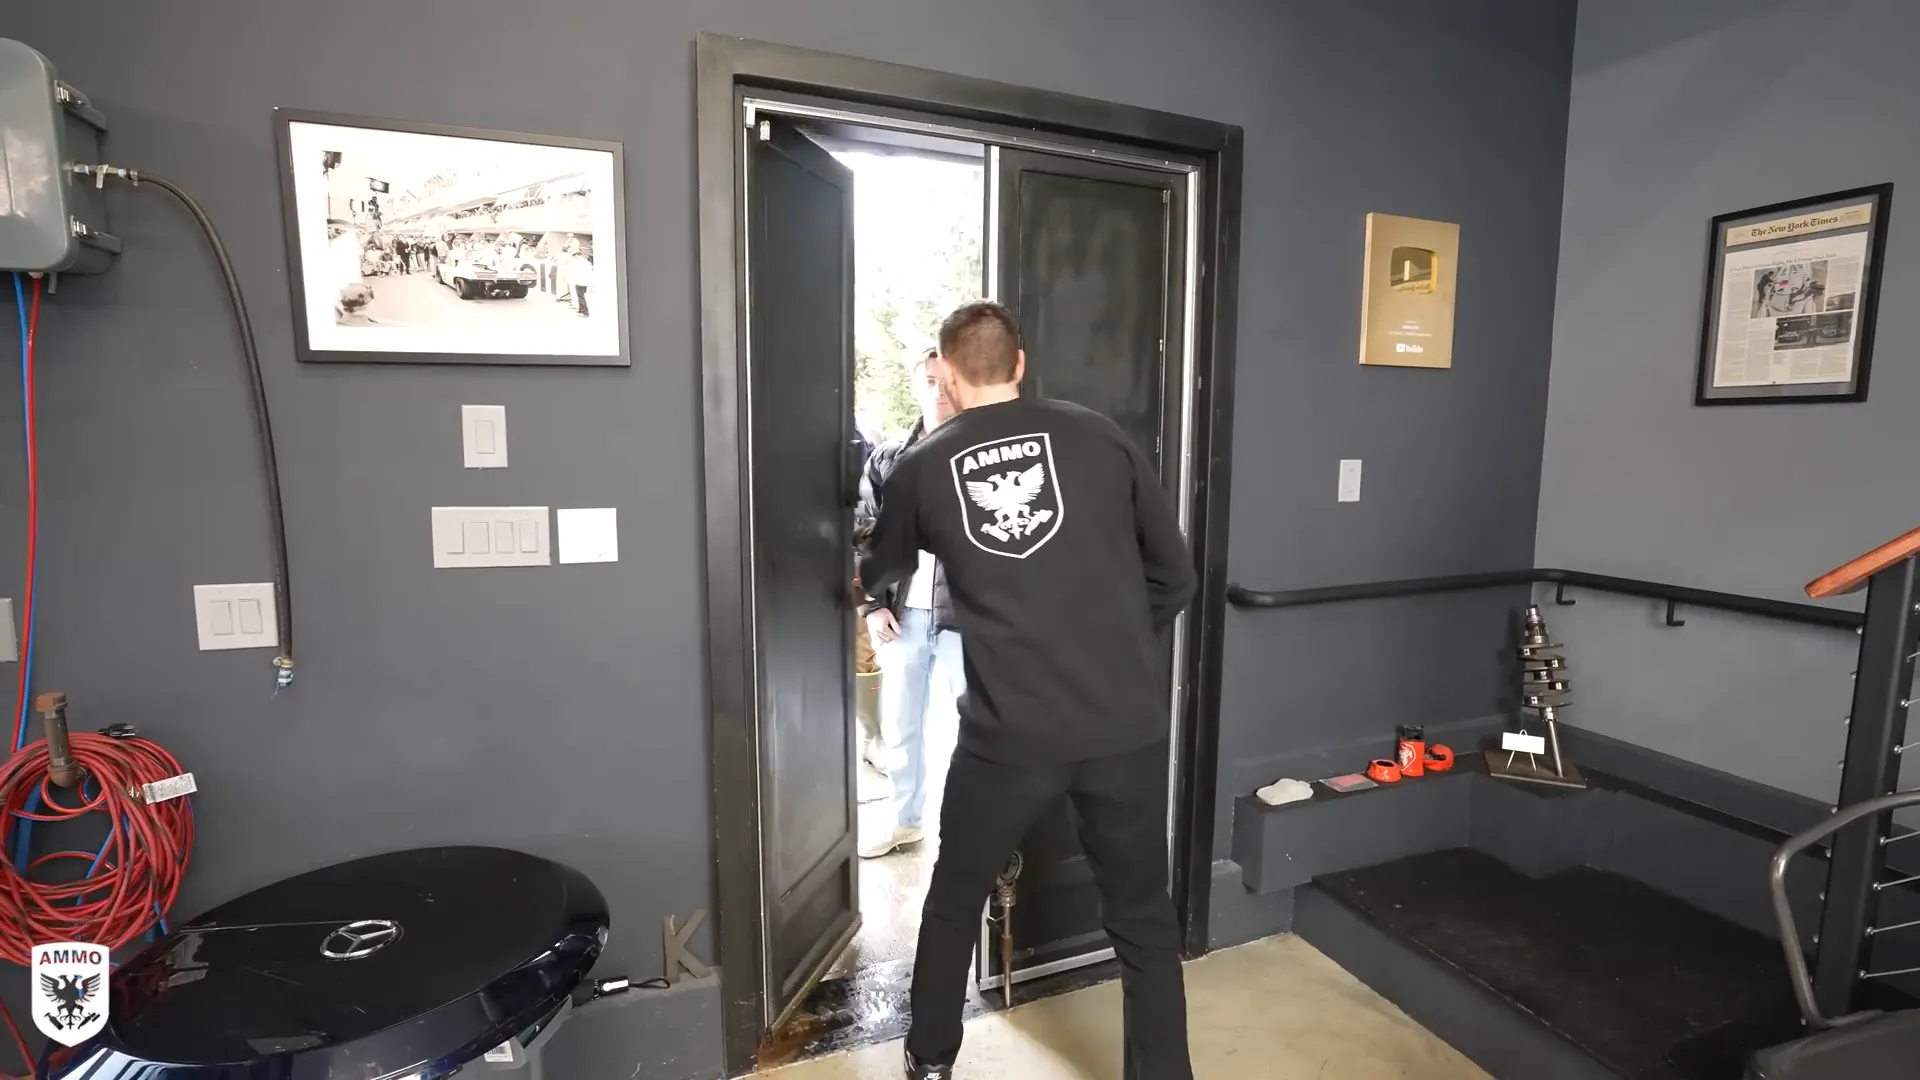
The Big Reveal
With the restoration nearing completion, it was time for the big reveal. The excitement in the air was palpable as I prepared to showcase the transformed M6 to its rightful owner. The family gathered, eager to see their father's reaction.
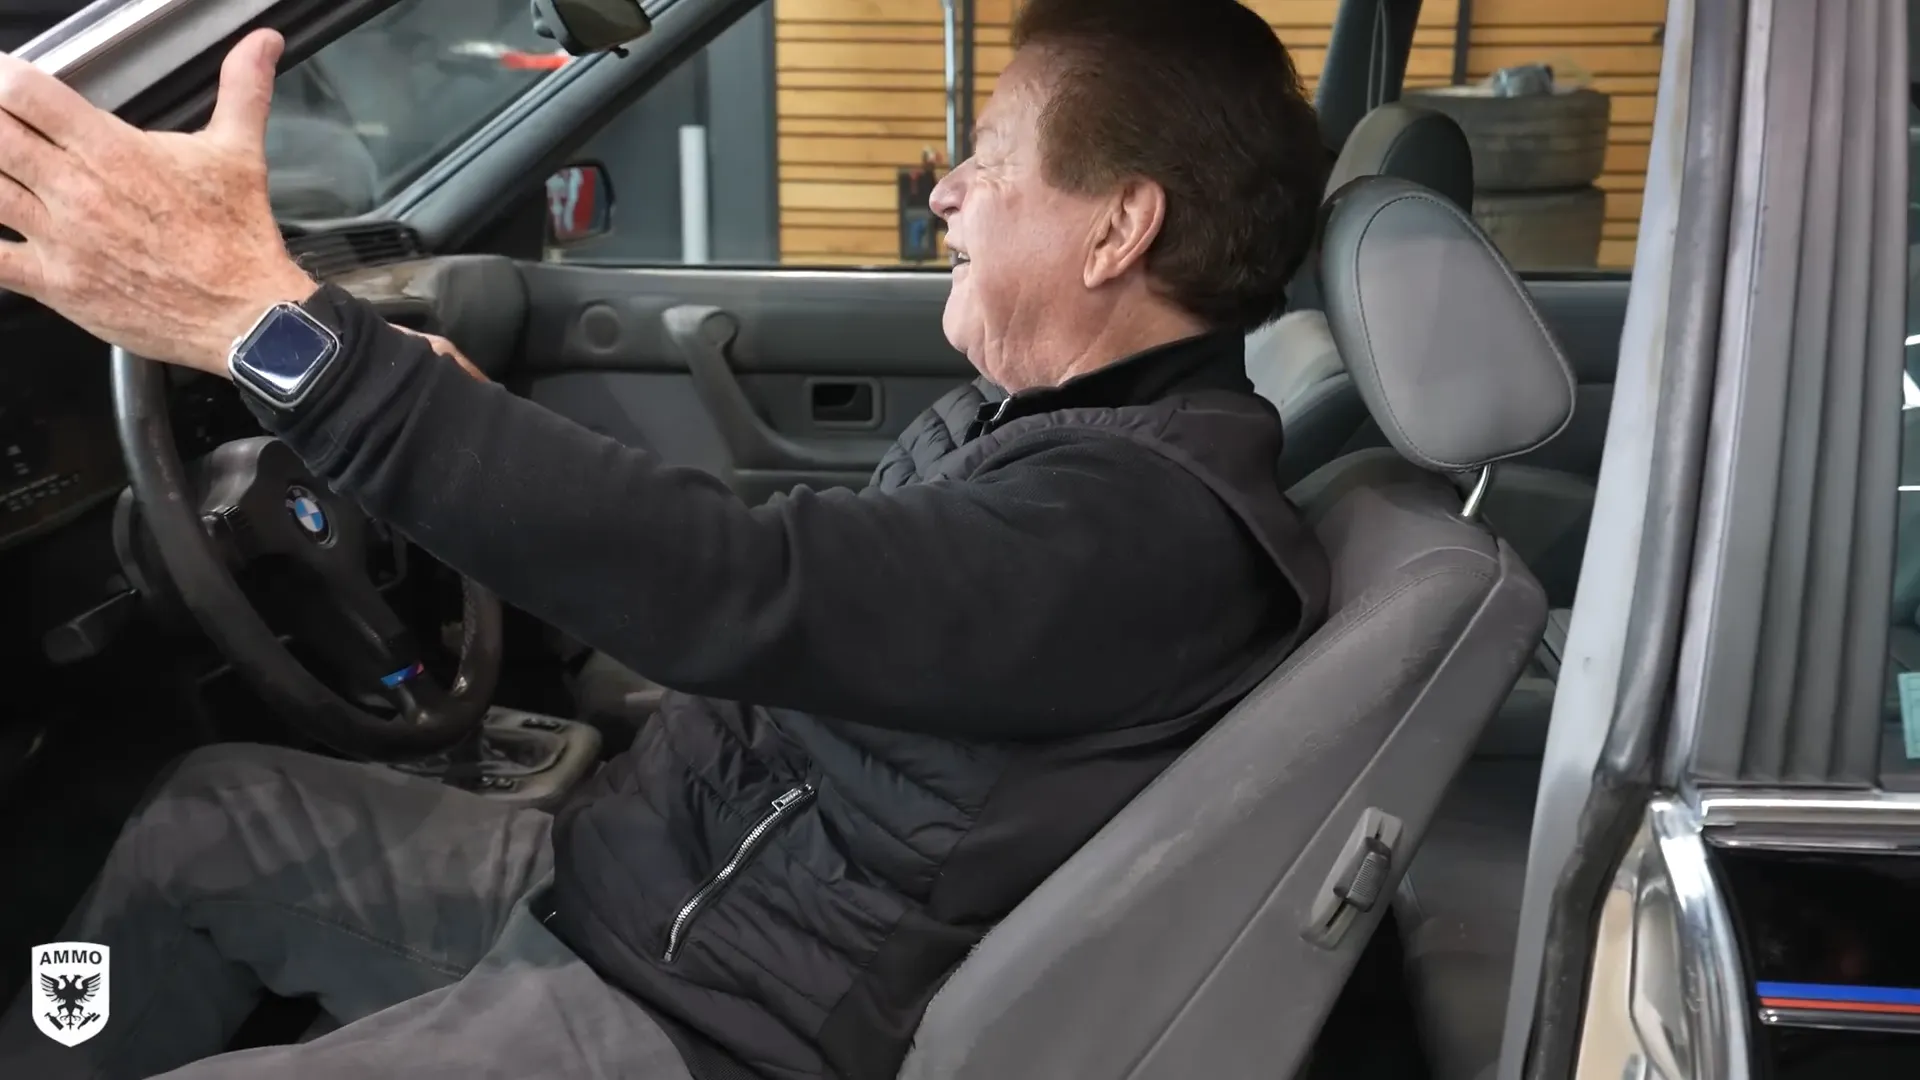
As I unveiled the car, the look of disbelief and joy on his face was priceless. It was more than just a car; it was a piece of their family history restored. The emotional connection was evident as he reminisced about the adventures he had in the M6.
Reconnecting with the Past
This restoration was not just about the car; it was about reconnecting a family with their past. The M6 held countless memories, and seeing it brought back to life reignited those cherished moments. From family road trips to late-night drives, the car was a vessel of nostalgia.
As the owner explored the car, touching the steering wheel and sliding into the driver’s seat, it was clear that the connection was as strong as ever. This wasn't just a restoration; it was a rekindling of love for a classic that had been dormant for too long.
Conclusion and Reflections
Restoring this 1987 BMW M6 was a labor of love that went beyond mechanics and aesthetics. It was about family, memories, and the joy of reviving something that had been forgotten. Each step of the process, from cleaning the interior to polishing the exterior, was a reminder of the car’s legacy.
As I reflect on this journey, I am reminded of the importance of preserving our automotive history. Every car has a story, and every restoration is a chance to bring that story back to life. I hope this project inspires others to look at their own vehicles and consider the memories they hold.
FAQ: Common Questions About Car Restoration
What is the first step in a car restoration project?
The first step is to assess the car's condition. This includes evaluating the exterior, interior, and mechanical components to determine what needs to be repaired or replaced.
How long does a car restoration take?
The timeline for restoration can vary greatly depending on the condition of the vehicle and the extent of the work needed. It can take anywhere from a few weeks to several months.
Is it worth restoring an old car?
Absolutely! Restoring an old car can bring immense satisfaction and joy. It not only preserves automotive history but can also increase the car's value.
What tools do I need for a restoration project?
Basic tools include wrenches, screwdrivers, pliers, and a jack. More specialized tools may be necessary depending on the specific tasks involved in the restoration.
Can I restore a car myself?
Many enthusiasts take on restoration projects themselves, but it's essential to be honest about your skill level. Some tasks may require professional help, especially for complex mechanical work.